

Lomography Film Scanner or DIY Film Scanner - How to Convert a Negative Image to Positive
The Lomography Film Scanner is out, but they haven't released their LomoScanner Apps for Android or iPhone yet. If you are trying out some version of a DIY Film Scanner, you also need a to process your negative images to positive. So how do you change and convert the digital images of the negatives to positives?
One solution is to use the IOS iPhone app Photoshop Express. I have been using this app to convert the images from the DIY 120 film scanner I built. Adobe also makes an Android app with the same name, but I haven't been able to verify if it has the same feature set as the iPhone app. If you know, please drop me a line.
If you have Photoforge2 on your iPhone, I understand that this will also invert negatives.
Here's how to do the negative conversion to positive on an iPhone.
1. Download the Adobe Photoshop Express app. (Free!)
2. Launch the Photoshop Express app
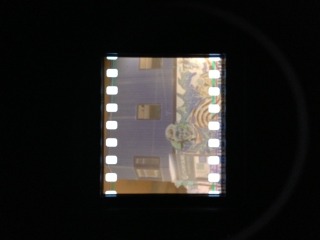
3. You can either take a photo of your negative with the Lomography Smartphone Film scanner, or select an image of a negative.
;)
4. When the image is open, select the crop tool and rotate or straighten the image before cropping. Next crop the image down to the edges.
;)
5. After the image is cropped, go to the effects menu and select "Effects".
;)
6. Select "Invert" from the special effects menus. (Top left corner of the effects grid)
;)
7. After the image is inverted, it will be off in color and saturation.
;)
8. To color correct the image, select Hue/Saturation from the correction menu.
;)
9. Adjust the Hue/Saturation. For my negative, I needed to adjust the Hue to the mid -60s and the Saturation to about 10. Your mileage will vary, depending on the negative and film used. You may also need to adjust the exposure in the same menu list as Hue/Saturation to lighten or darken the image.
;)
10. Done!
 kaiy
kaiy
Reader Comments (1)
I was thinking about buying the Lomography Film Scanner, and this article is gonna be really useful for me :) Thank you!!