Powered by Squarespace
Contact

contact:

This form does not yet contain any fields.


    Entries in iPhone Smartphone 120 Film Scanner DIY (2)

    Tuesday
    Mar052013

    The iPhone 120 Film Scanner, Difficult Negatives and Digital Retouching

    I am a traditional photographic printer, meaning that I like to make prints in the darkroom. Unfortunately, it isn't always practical or quick to produce work this way.

    Testing the iPhone scanner setup, I see that many negatives that would normally be deemed difficult to print in the darkroom because they are too thin (underexposed) or too dense from overexposure, can be easily and quickly retouched in Photoshop. (At least on the desktop. See my notes below about the iPad experience)


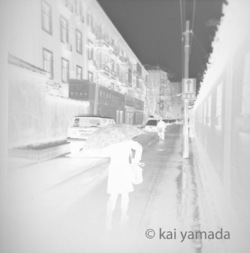
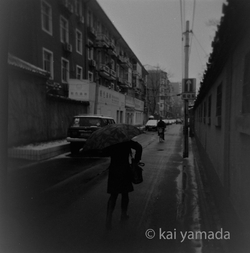
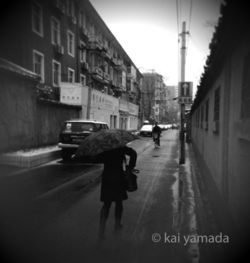
    An underexposed 120 film negative shot during an overcast day in Beijing, China


    The original negative scan inverted. 


    Retouched image.

    All the image are clickable to larger sizes.


    The digital retouching was done on a 3rd Gen iPad using various programs, but somewhere along the way, the image lost some resolution. Probably in Sketchbook as the app resized the image to it's maximum or default. Sketchbook was used to spot the image, a process remarkably similar to spotting a silver gelatin photographic print. In the future, for work which will be output to digital prints, they will be retouched on a desktop computer and a full version of Photoshop CS6, in order to more easily spot, retouch, and refine the images while holding onto the maximum resolution. I hope the experience will become better on the iPad as new apps and tools are added that make retouching easier. For now, it is an exercise in patience.

     (iPad apps used: Photoshop Express, Sketchbook Pro (for spotting), Photoshop Touch) 


    Sunday
    Mar032013

    iPhone (Smartphone) 120 Film Scanner, Version 2

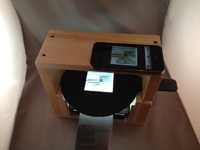
    iPhone Scannner, Ver 2 in action.

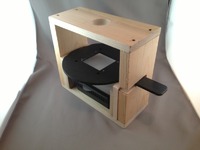
     With Beseler negative carrier in place.


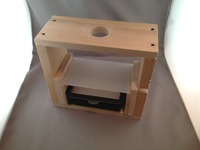
    White plastic diffuser in position.


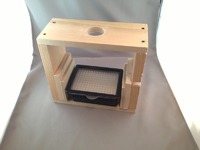
    The 160 LED video light source  placed in the base.


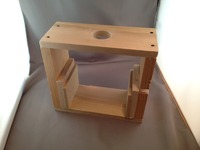
    The iPhone Scanner , Ver 2.

    Each image is clickable to show a larger version.

    The second version of the iPhone 120 film scanner was completed today. It is the same basic design as the first, but I wanted two more things from this new design. Since most of my negatives are in 120 format, I wanted a dedicated platform that maximized the scan for that size. I also wanted an independent light source for the scanner because using a light table isn't very convenient, and sometimes there may be horizontal line patterning from fluorescent light tube flicker. 

     The scanner is built with a closed base. The closed base is the platform for an inexpensive 160 LED video light. Two levels of supports were added to the inside walls. The first one supports a piece of white translucent plastic that acts as a diffuser for the light. The second support is higher and is for the Beseler 23IIC negative carrier. The negative carrier is ideal to hold the negative flat, easily reposition the negative under the camera, and to be able to quickly switch to a new negative. In order to accomodate the negative carrier, a notch was cut into the side of one of the supports. The negative carrier handle that sticks out the side serves to reposition the negative without having to move the camera.

    Plans for iPhone Film Scanner, Version 3 are already in the works. As this version took shape. I noted places where slight changes could be made so that the scanner could be used for multiple formats. The goal is to be able to scan everything from 110 film to the 6x12 format of the Lomography Belair.

    The light panel is available on Amazon (about $30USD) and is the:

    Chromo Inc. 160 LED CI-160 Dimmable Ultra High Power Panel Digital Camera / Camcorder Video Light, LED Light

    http://www.amazon.com/gp/product/B009HU6RI8/ref=oh_details_o00_s00_i00?ie=UTF8&psc=1